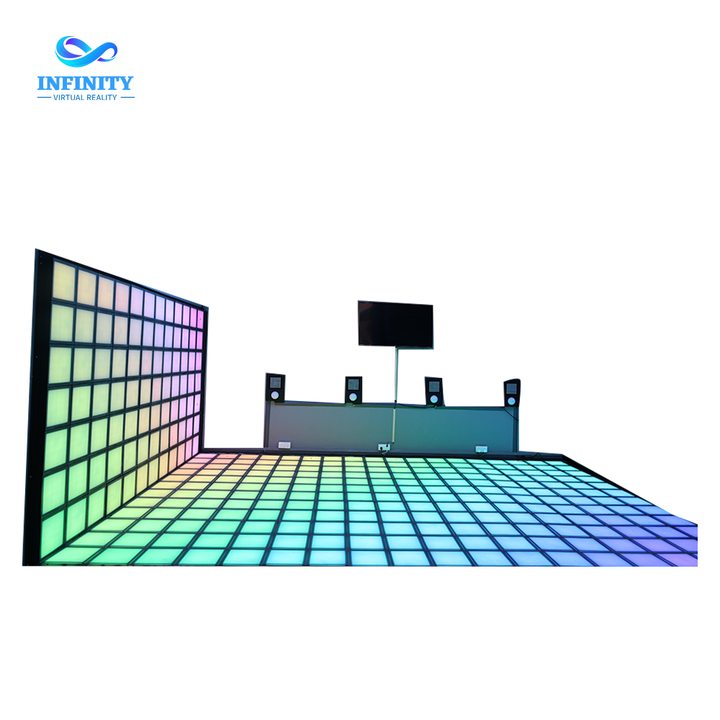
An interactive LED floor is sold on its show effect: the glowing grid, the multiplayer games, the light that pulls a crowd. What keeps it alive is invisible and installed before the first tile clicks into place. Subfloor flatness, concrete moisture, ceiling clearance for tracking cameras and a clean electrical drop decide whether the grid plays reliably for five years or starts failing within the first season.
The decision comes down to the hardware on the floor. The LED dance floor anchors the layout, the VR arena drives the repeat visits and the VR multiplayer standing platform adds the premium layer, and each one is matched to the space and the budget this guide covers.
LED tiles are rigid panels joined by connectors across a continuous surface. Unlike carpet or laminate, they cannot flex around a high spot, bridge a low spot or absorb a shifting subfloor. Every deviation in the floor translates into a rocking tile, a stressed connector and a sensor that misfires during a scored game. This guide sets the pass-fail specs for the subfloor and ceiling, explains the electrical drop the grid needs, and closes with a 7-day prep and install sequence.
Three numbers anchor the whole checklist: the subfloor must hold ±3 mm over any 2 m span, the concrete must stay below 4.5 percent moisture, and a 40 m² grid draws 5.2 kW on its own dedicated circuit.
Use the table below as the written contract between you and the flooring contractor. Every row is a measurable test with a number, not an opinion.
| Check Item | Required Specification | What Happens if Missed |
|---|---|---|
| 2 m straightedge test | ±3 mm across any 2 m span | Rocking tiles, sensor misfires, premature connector wear |
| Concrete moisture content | Below 4.5 percent | Tile lift, delamination, mold under the grid |
| Concrete surface strength | 25 MPa minimum | Tile anchors fail, panels flex under players |
| Level deviation over the grid | 5 mm maximum overall | Visible gaps, edge curl, misaligned tiles |
| Expansion joints | No joint under the tile grid | Crack propagation, snapped tiles |
| Ceiling clearance (camera tracking) | 2.8-3.5 m clear, unobstructed | Tracking dead zones, missed taps |
| Ceiling light control | No direct glare into cameras | False triggers during gameplay |
| Surface condition | Dry, swept, vacuumed | Tiles fail to seat, connector contamination |
The ceiling matters as much as the floor for camera-based interactive grids. Tracking cameras need an unobstructed view of the playing surface from 2.8 to 3.5 m, which means no hanging signage, pendant lights or low ductwork inside the capture volume. Direct downlights pointed at the tiles create glare that reads as false touches; the play zone should be lit from the sides or controlled separately from the ambient lighting.
Run the straightedge and moisture tests before any leveling work. Concrete that fails the moisture check will keep failing under a sealed grid, where the vapor has nowhere to escape; the fix is a moisture barrier laid before the leveling compound, not a thicker pad afterwards.
The LED grid is a low-voltage system at heart, but the feed that serves it must be treated like a power tool: dedicated circuit, stable voltage and clean grounding. Sharing a branch with dart machines, a fridge or a karaoke screen invites brownouts exactly when the grid is running full brightness during a tournament.
A shared branch sags under other loads; the grid dims, reboots mid-game and drops scores. Guests walk off, refunds pile up and the venue blames the floor for a wiring problem.
A dedicated 16 A circuit with stable voltage and a clean ground keeps the grid at full brightness through peak hours, tournament nights included, with zero interaction with other equipment.
Specification for the drop: one 16 A circuit per zone of up to 40 m², fed from the nearest subpanel with a cable run under 25 m to limit voltage drop, on a breaker rated for the tile power supply. The grid's low-voltage driver converts the feed internally, so the installer needs only the clean AC drop, not a special transformer.
Note the grounding detail. The tiles read a player's touch through the surface capacitance, and a noisy ground on a shared circuit introduces false triggers. A dedicated circuit bonded to the venue's main ground, with no connection to the kitchen or HVAC loop, is the difference between a floor that scores and a floor that argues.
The prep specs above apply to the NextPlay interactive grid and the room around it. The three systems below cover the floor and the attractions that can surround it.
Prep is the cheapest insurance in the venue because its failures are not repair events; they are removal events. The tiles must come up, the surface must be re-leveled and the grid reinstalled, at triple the original labor rate.
The asymmetry holds for the ceiling too. A camera bracket repositioned during fit-out costs an hour of labor; the same change after the grid is live means re-painting, re-running cable and re-calibrating the capture volume, at five times the cost.
The sequence below compresses everything into a single week and keeps each trade on a fixed date. Any day that slips pushes the opening, so each step carries an explicit pass-fail test.
The week ends with a handover document: the test results, the calibration log and the baseline power readings that every future service call compares against.
The subfloor must hold ±3 mm across any 2 m span when measured with a straightedge. Tighter is always better; looser means rocking tiles and misfiring sensors.
No. LED tiles need a rigid, stable subfloor. Carpet and sprung wood flex under players, break the tile connectors and void the warranty; use level concrete or a rigid overlay.
Yes. Give each zone of up to 40 m² a dedicated 16 A circuit with a clean ground, cable run under 25 m and no shared connection to other equipment.
2.8 to 3.5 m of clear, unobstructed space above the playing surface, with no signage, pendant lights or ductwork inside the camera capture volume.
LED tiles are rated for 50,000+ hours of operation, which is years of daily play. Individual tiles are field-replaceable, so one damaged tile is a 10-minute swap, not a floor replacement.
Yes, if the subpanel has spare capacity and the dedicated-circuit discipline is kept. Adding tiles means extending the same clean feed, not re-wiring the building.
An interactive LED floor is the most visible attraction in the room and the most demanding about its environment. The venues that get five years of flawless gameplay are not the ones with the luckiest tiles; they are the ones that ran the straightedge, fixed the moisture, cleared the ceiling and gave the grid its own circuit before the first tile went down.
NextPlay supplies the interactive LED grid with a documented site-prep spec, installation support and spare-tile service. Contact NextPlay for the prep checklist and a room assessment for your LED floor zone.
Ask NextPlay for the site-prep checklist and room assessment: subfloor tests, camera clearance and the dedicated circuit plan for your interactive grid.