A 9D motion ride is bought on its motion specs and judged on its position. The same machine can earn three times more revenue at one spot in a venue and fail at another, with no change to the hardware, the software or the price list. Position is the second spec sheet, and most operators fill it in by instinct instead of by measurement.
Entry foot traffic is the highest-value flow a venue has. Shoppers arriving through the main entrance have not spent money yet, they are still in browsing mood, and they pass every display on the way in. A ride that captures this flow at the right moment converts a shopper who is walking to a shopper who is staying.
| Position Factor | What It Controls | Cost of Getting It Wrong |
|---|---|---|
| Flow line | How many eyes pass the ride | Ride placed off the walk path |
| Stop distance | How far away the ride is readable | Ride invisible past 5 meters |
| Dwell pocket | Where the queue and ring can form | Queue blocks the walkway |
| Readability | What the ride communicates at a glance | Nobody knows what it is |
| Measurement | Whether the position is kept or moved | Bad position kept for months |
The five steps below turn each factor into a concrete action. None of them requires a consultant; each requires one observation pass, one tape measure and two weeks of simple counting.
The flow line is the path most entering shoppers actually walk, which is rarely the geometric center of the entrance hall. People entering a venue drift toward light, toward open space and toward movement, and they usually follow the same line within a meter, day after day. The first step is to find that line and stand on it.
| Flow Line Type | What It Looks Like | Ride Placement | Expected Capture |
|---|---|---|---|
| Dominant line | 60-70% of entering shoppers | On the line, not beside it | High |
| Slowing point | Flow drops pace at a corner | At the pace drop | Very high |
| Secondary lines | Left and right turns | Between the two flows | Medium |
| Dead corner | Flow bypasses entirely | Only with a marquee draw | Low |
The rule of step 1: the ride must sit on the line where the feet already go. Placing a ride 3 meters off the dominant flow line costs 60 to 80 percent of its potential capture before the machine is even turned on.
Once the flow line is mapped, the operator chooses the specific point where the ride will stand. Traffic points are not all equal: some positions get thousands of passing eyes with no pause, others get fewer eyes with a much higher stop rate. The stop rate is what pays.
| Traffic Point | Passing Eyes | Stop Rate | Net Result | Notes |
|---|---|---|---|---|
| Entrance hall center | Very high | Low | Medium | Too open, hard to claim space |
| Entrance hall edge near first row | High | High | Very good | Flow passes close and slow |
| Corner after the entrance turn | Medium | Very high | Best per eye | Natural pace drop |
| Between escalator and food court | High | Medium-high | Good | Repeated daily traffic |
| Near the cashier wall | High | Low | Weak | Shoppers have a mission |
The per-eye logic is the key: a corner after the entrance turn might see half the eyes of the hall center, but it stops two to three times more of them. For a ride that sells a 3-to-6-minute experience, stop rate matters more than raw passing count.
The practical test is the 10-second rule. Stand at the candidate point and count how many passing shoppers glance at the spot within 10 seconds, then how many stop. If fewer than one in ten stops, the point is a passing point, not a stop point, and the ride should not go there.
A 9D ride stops the shopper, and then the space around the ride takes over. The dwell pocket is the clear zone where the spectator ring forms, the queue stands, and the next riders wait without blocking the walkway. A ride without a dwell pocket becomes a traffic obstruction and gets moved by venue management within weeks.
| Space Component | Minimum Size | What It Does |
|---|---|---|
| Ride footprint | 2.5 x 2.5 m (chair) | The machine itself |
| Spectator ring | 1.5-2 m around the ride | Where the pause happens |
| Queue lane | 0.8-1.2 m wide, 3-6 m long | Queue off the walk path |
| Clear walkway | 1.5-2 m beyond the ring | Venue flow never blocked |
| Total pocket | 5 x 6 m typical | Everything above |
The pocket rules: mark the floor, keep the walkway clear, and cap the queue at 10 minutes of wait. Floor marking is not decoration; it tells spectators where the ring is allowed to form, it tells the queue where to stand, and it gives venue management a visual contract that the ride owns its zone.
The queue cap protects both the venue and the ride. A long queue may look good on a Saturday, but a queue that blocks the walkway generates complaints that close the ride during the hours it earns the most. The fix is simple: one ride per person during peak, and a sign that shows the wait time.
A passing shopper decides in under two seconds whether the object ahead is worth walking toward. A 9D motion chair with a dark screen and a stopped rider reads as furniture. The same chair with a running demo, edge lighting and a price sign reads as an event. Readability converts passing eyes into walking feet.
| Readability Element | Distance It Works From | Effect |
|---|---|---|
| Edge lighting | 8-12 m | Eye draw |
| Running demo | 5-10 m | Stop trigger |
| Price and duration sign | 3-5 m | Decision speed |
| Preview screen | 2-5 m | Conversion |
| Rider ritual | 1-3 m | Trust and desire |
The readability budget is small: edge lighting and a sign cost a fraction of the ride''s price and typically lift stop rate by 30 to 50 percent on the same position. Readability is the cheapest traffic upgrade available, and it is the step operators skip most often.
The final step is the discipline of measurement. Position decisions are hypotheses until two weeks of numbers confirm them. The measurement is simple: count passers-by, count stoppers, count riders, and compute the two conversion rates that decide the position''s fate.
| Metric | How to Count | Target | Action if Below |
|---|---|---|---|
| Passers per hour | Tally at peak hour | 300+ | Relocate to flow line |
| Stop rate | Stoppers / passers | 10-15%+ | Improve readability |
| Ride start rate | Riders / stoppers | 20-30% | Check price and demo |
| Repeat riders per week | Rider count vs unique | 15%+ | Build a scoreboard habit |
| Revenue per hour | From the register | Positive vs rent share | Adjust price or hours |
The two-week rule: run the same position for two full weeks before judging it, because weekdays and weekends capture different flows. If stop rate is below target after two weeks, fix readability first, then pricing, and only then consider relocation.
Relocation is a normal outcome, not a failure. The same ride moved from a passing point to a stop point routinely doubles its revenue, and the measurement system is what makes the move obvious instead of speculative.
Two full weeks. Weekdays and weekends capture different flows, and a single Saturday does not tell the truth about a position. After two weeks, fix readability, then pricing, then relocation.
A 5 x 6 meter pocket: the ride footprint, a 1.5-2 meter spectator ring, a queue lane of 0.8-1.2 meters by 3-6 meters, and a clear walkway that never blocks the venue flow.
Stand at the entrance for 30 minutes at peak and trace the walking paths of 50 shoppers. The dominant line carries 60-70 percent of the flow; the ride belongs on that line, at the natural slowing point.
Run a loop demo with motion visible, add edge lighting, and show price plus duration on a clear sign. The three together lift stop rate by 30 to 50 percent on the same position.
10 to 15 percent of passers stopping, and 20 to 30 percent of stoppers starting a ride. If the numbers are below target, check readability before blaming the position.
When stop rate stays below target after readability and pricing fixes. A ride at a passing point with good readability is a position problem, and relocation to a stop point usually doubles revenue.
Positioning a 9D motion ride for entry foot traffic is a five-step routine: map the flow line, pick the stop point, build the dwell pocket, make the ride readable, and measure for two weeks. The routine costs a few hours of observation and a roll of floor tape, and it decides whether the machine earns its place or loses it.
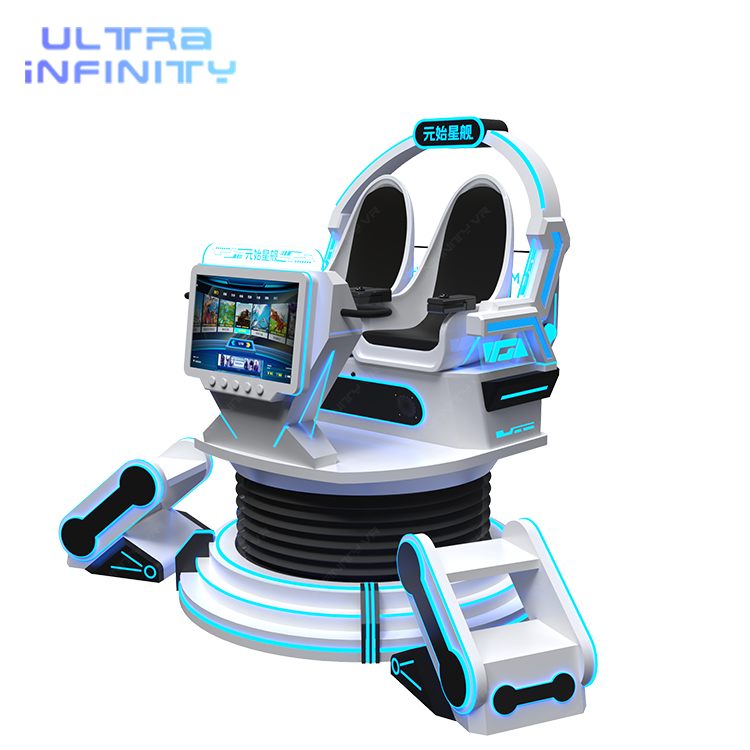
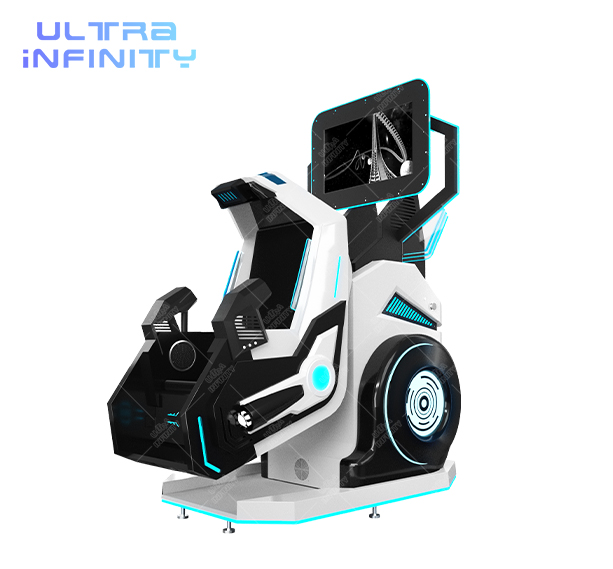
The VR Starship U2 fits the entry anchor role with its compact two-seat footprint, the VR Thunder Motorcycle 9D supplies the stop-trigger pose, and the VR 360 Motion Chair builds the spectator ring that feeds the zone. Contact NextPlay for the positioning worksheet and the measurement template, and let the numbers decide where the ride stands.
Ask NextPlay for the positioning worksheet behind this guide: the flow-line map, the traffic point checklist and the before-and-after measurement template that takes the guesswork out of placement.